
ProFlares ships with a number of example atlases, but your free to create your own. The only requirement is an image texture that contains your flare elements. A ProFlaresAtlas stores the definition of each of these elements which is used to render the flares efficiently. You can either import each element’s definition from a texture packer text file or create them manually.

The first step is to create the ProFlareAtlas asset.
A ProFlareAtlas is basically a prefab, to create one first create an empty GameObject.
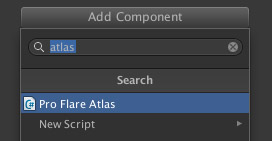
Rename it what ever you wish to call your atlas. Then add a ProFlaresAtlas component.
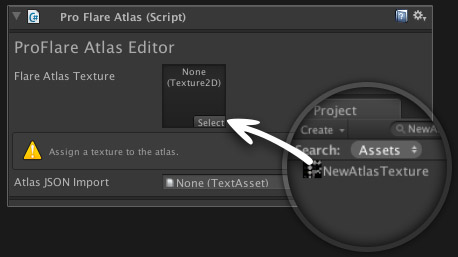
Next drag your texture to the open slot on the ProFlaresAtlas.
Now drag the FlareAtlas game object from the hierarchy to the project to create the prefab. You can now delete the one from the hierarchy and just work on the prefab in the project window. Then save the project to write all asset changes to disk.
Now you are free to to either import
your texture atlas information from texture packer. By dragging the text file created by texture packer onto the import field.
If you choose to manually assign your elements, Click the ‘Add new’ button. You can now edit the new element, use the guides to help you line up the centre of the element. Then adjust the width and height to define the size. It’s always a good idea to assign a name to the element for future reference.

Once an atlas is assigned to a flare you are still free to edit the atlas, but it is worth noting that some modifications that might break your flares. Renaming a flare that has been manually added will cause any flare using the element to lose its reference and will need to be reassigned.
If you wish to update an atlas that has been imported via texture packer. You can just drag the updated text file onto the import field to update the elements. If an element no longer exists in the imported text file it will be removed. Any flare elements that used the removed element will need to be reassigned.